5 Steps to Declutter Your Bathroom
Step by step plan to declutter your bathroom
The spaces that are used daily in our homes are actually the spaces that get the most neglect. Why? Because it’s a daily chore. Each day we use the items and that also means the items need to be put back into their designated spot so that it will be ready for the next use. We both know that busy morning schedules filled with getting the kids and ourselves ready for the day is a lot of moving parts to manage. That is also why keeping these areas tidy is a DAILY task.
Before many of us can even maintain a daily routine of keeping order in our bathrooms and vanities, an overhaul and reset is needed. This process is something I walk through with my clients during our tidying sessions. Using these five steps, you can declutter your bathroom and go from an overwhelming and nonfunctioning space to one that they cherish and appreciate because it finally supports you in your life.
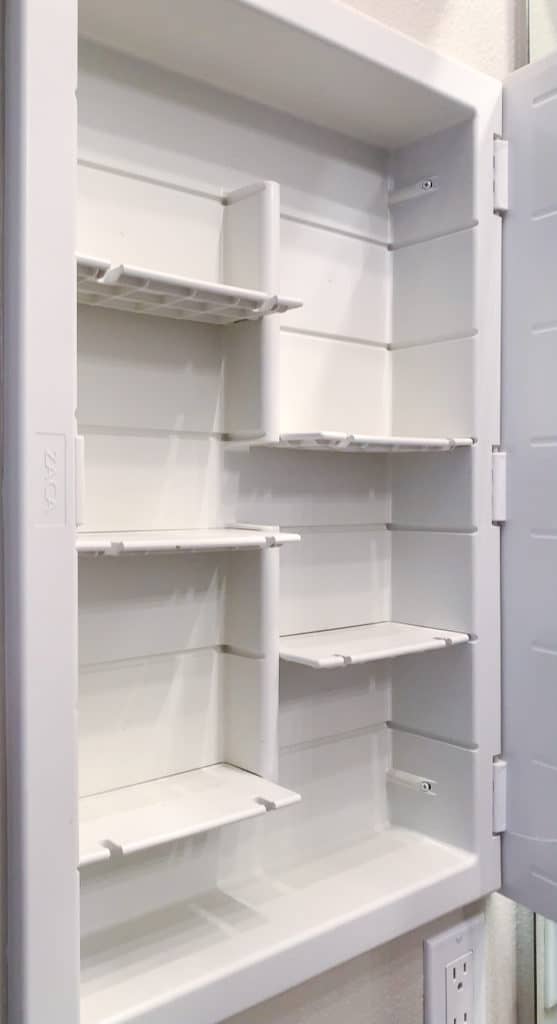
Step 1: Take Everything Out
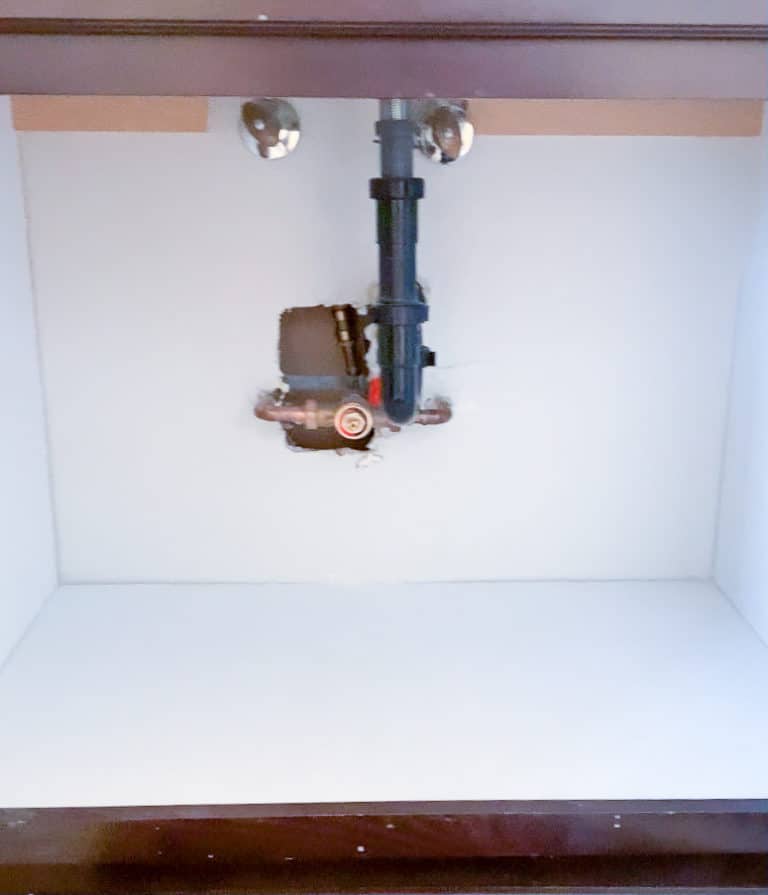
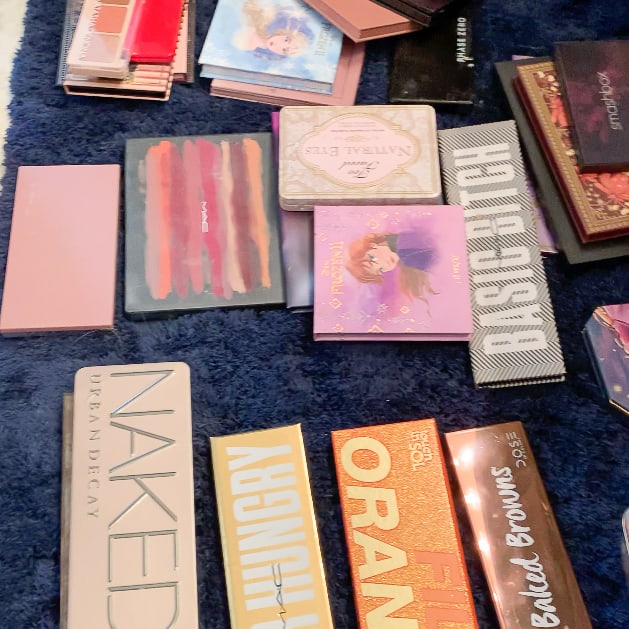
Our first step is to take everything out. This part is critical to the process because by taking the time to take all our items out of the bathroom cabinets and drawers, and medicine cabinets, we have the chance to see all the clutter that has been tucked away, unused for likely a long time. It’s not uncommon for me to hear my clients say, “oh, I didn’t know I had this.” Or “I was looking for that and I bought one to replace it.” I recommend grouping all the items together on the floor or on a table where you can comfortably sort and go through your items.
Step 2: Inventory Your Items
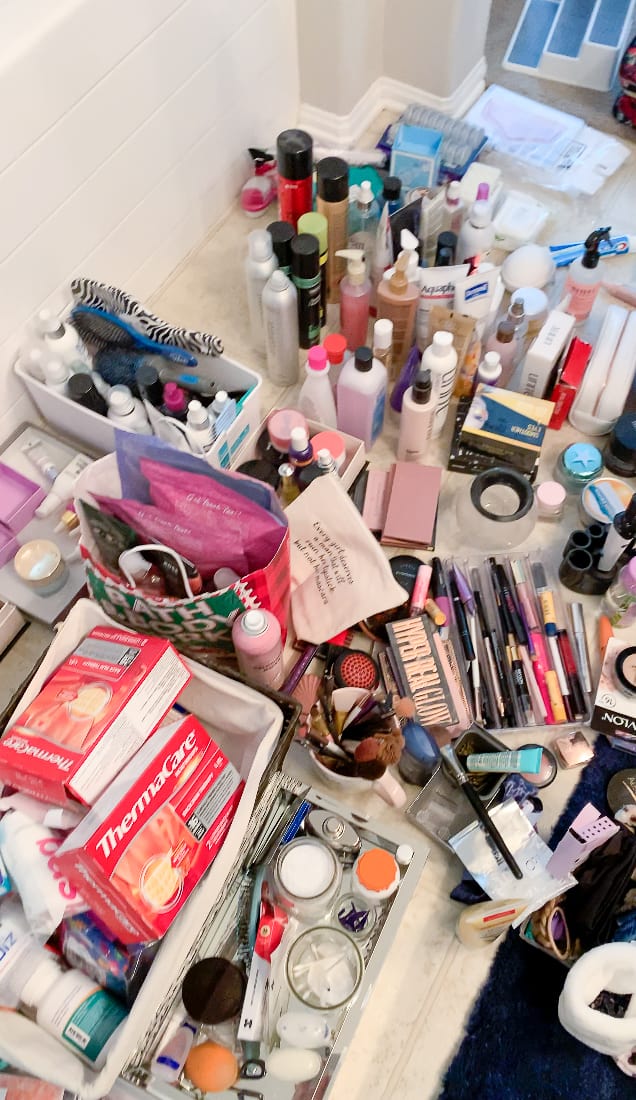
Once all the items are taken out, really take a good look at all the stuff that you have. This activity is a major eye-opening experience because it shows us how much we have and how much of it is or isn’t being used. The process to inventory our items shows us exactly what we have laid out in the open. At this very point in the process, clients experience an “aha” moment. They often realize that their past behaviors explain how these items came into their home to ultimately become overwhelming clutter.
Step 3: Separate by Subcategory
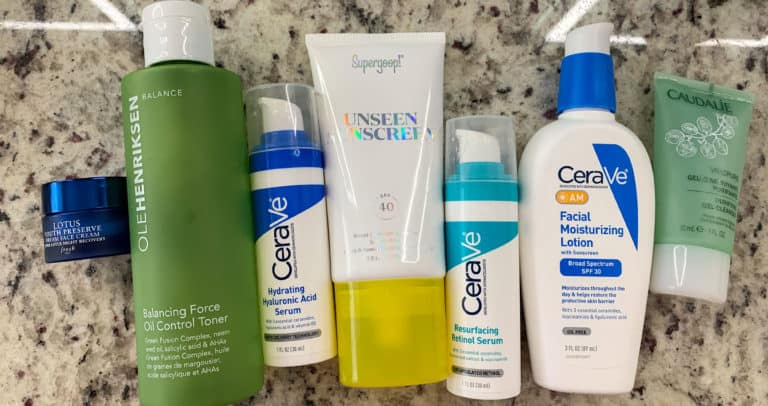
Now that we can visibly see all the items, it’s time to dig in and group our items by mini categories. Creating the subcategories helps to manage the overwhelm when deciding which of our items we want to keep and what to let go. It also creates natural points in the process to take breaks. Keep in mind that decluttering and tidying up is often an emotional and draining task. So it is very important to seek out the breaks when needed especially in between subcategories. The subcategories give us a finite group of items to declutter. This feels all together more manageable than if we looked at the entire space as one large task. Breaking apart the process makes the task digestible and we can check things off our list as we go.
Step 4: Make a Decision
Start with the easiest subcategory to tackle and then make a decision about whether the items are useful to you and support you in your life. Designate a space for items that you plan to keep and items you plan to discard or donate. As you are faced with the decision to keep or discard you’ll inevitably get into a rhythm and that makes the process go quickly. This cadence is repeated for all the subcategories in order to declutter your bathroom.
Step 5: Organize Your Items
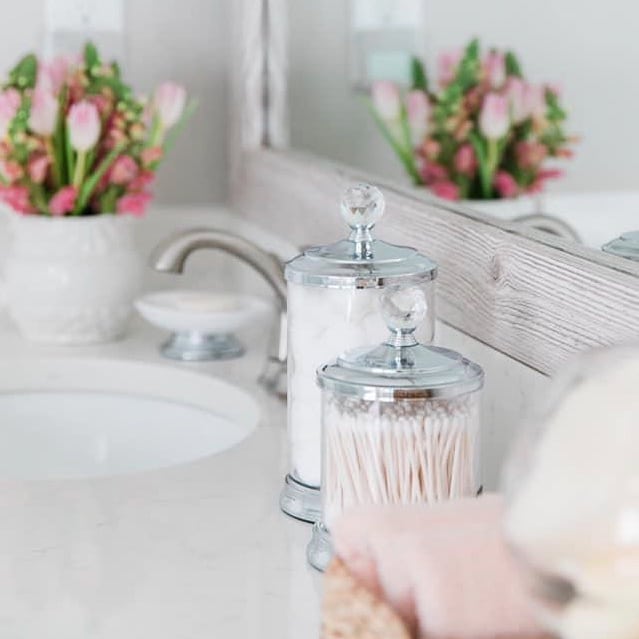
After each and every item is touched and a decision is made to keep or discard, we are now ready to organize our keep items. This part of the process is especially fun because now clients are arranging their beloved items in a beautiful and logical manner that will support them in their daily lives. Almost every time I work with clients, at this point in the process, they find that their existing organizational solutions and bins are enough to house their remaining items. There simply isn’t a need to purchase anything more to help contain and organize their items. I encourage clients to continue to use what they have after this reset. After a few weeks or so if the organization systems and containers no longer suit them, they feel comfortable seeking out other solutions that are more joyful to them.
Group all the similar items together, and lay them either upright or in a row so that you are able to see all that you have in your space. Organization serves to showcase our items in a way that is accessible and visible. When we are able to see and use our items, they add value to our lives.
Put It All Together
Five steps are all it takes to declutter your bathroom and get organized in a given space. For all you DIY’ers out there this approach is the simple step by step method that many of you seek when tackling a project. With a little bit of time, maybe a weekend afternoon, and some motivation, I know you can take the steps to getting more organized in your life. I have a tidying checklist to aid as a go-to resource that will definitely help you on your DIY tidying journey. Head to this link to grab yours today! I shared on my social platforms this exact process with one of my clients. Check out the one-minute video here!
If the task feels too overwhelming, then please know that an organizing professional might be the next best solution for you and if it’s me, I would be my pleasure to support and serve you on your tidying journey.
Tidy on and tidy strong, my friend!
Do you know where to donate half used items that might be expensive so i would feel bad throwing out? I doubt thrift stores take half used eye cream etc.
Hi Christine, if it’s used makeup or face products thrift stores will not accept it due to bacteria and health issues. Shelters also do not accept them for the same reasons. I hope this helps.